After a little discussion Friday evening found Robin and I settling on a Spearhead game set in France during 1940. We of course intended to use the Scenario System to develop the situation. With my own British still not ready for this campaign I promptly dusted off a German list based around the 7th Panzer Division.
Having reached Avesnes 7th Panzer was expected to reform following it advance. However Rommel had other plans. Colonel Karl Rothenburg, commander of the 25th Panzer Regiment, was ordered forward and soon encountered further enemy forces. To his front was “Sutton Force”, an adhoc assembly of various formations. Rothenburg opted to engage the enemy by a rapid hasty attack. when he to learnt the British had failed to secure two critical ridges. Either the British commander was up to something, or he was incompetent. Rothenburg hoped for the later, but feared the former. Divisional intelligence officers further advised that Sutton Force comprised elements drawn from an Armoured Division, rather than the more typical Infantry Division.

The German staff work hastily began to put the plan together. Immediately available were two Panzer Battalions from 25th Panzer Regiment as well as one motorised battalion from the 6th Motorised Regiment. Flank marches were ruled out, instead both Panzer Battalions would work together, massed for the expected armoured clash. The more open right flank was clearly the area for the Panzers to operate leaving the infantry to secure the centre. One Panzer battalion would advance with the second held in reserve. A Motorised Battalion drawn from 6th Motor Rifle Regiment, without armour, would secure the centre and one flank of the Panzers. This battalion would be reinforced by a number of 88mm Flak guns and using high ground could dominate the centre. Divisional 105mm artillery was available for support of the attack. Around 1pm German formations of the 7th Panzer Division crossed their start lines. As they did Stukas circled overhead occasionly swooping down to attack enemy forces.

In the centre 1/6th Motor Rifle Battalion advanced over open ground with out incident. The battalion secured its objective and deployed several platoons secured a large wood. Other platoons and support companies deployed to the left while the attached Flak deployed on dominating high ground.
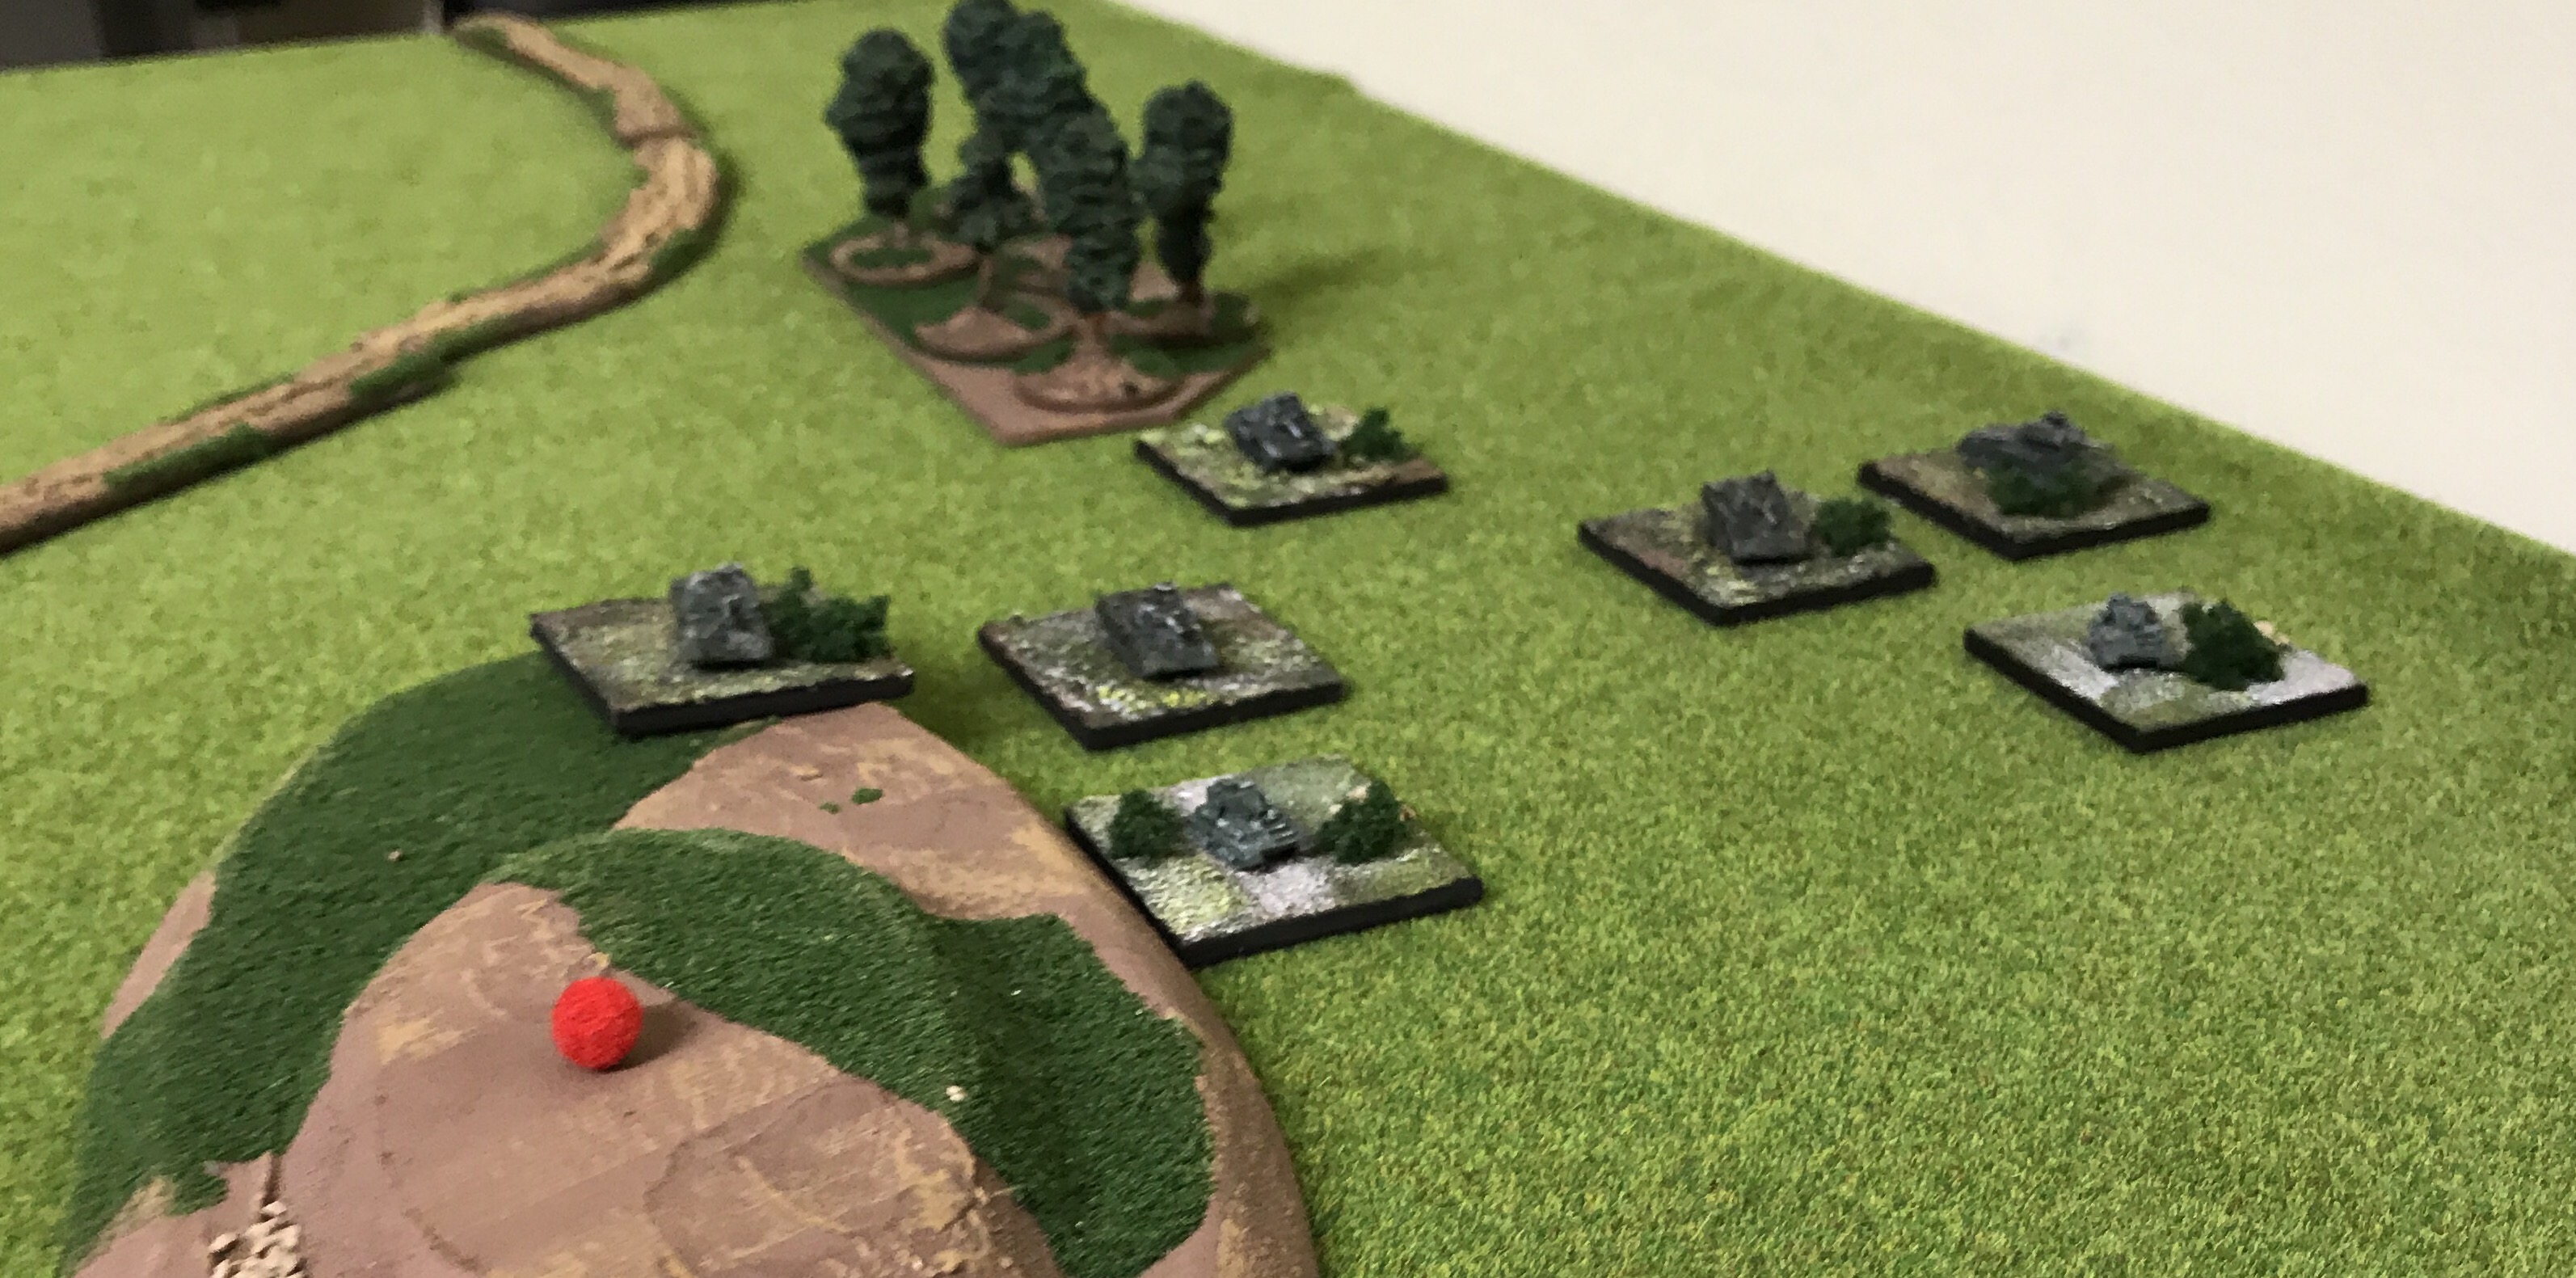
Some distance from the battalion British forces held a second wooded ridge, seen below.

Meanwhile to the right German Panzers advanced towards their initial objective, a ridge some 1400 yards in length, British infantry were detected advancing from the opposite direction and intent to secure the same ridge.
While clearly they would reach the high ground first they would expose their flank in the process. As a result the 1st Panzer Battalion would halt while the second Panzer Battalion was ordered forward to envelope the advancing British. Below, 1st Panzer Battalion is on the left while the 2nd Panzer expands to the right.

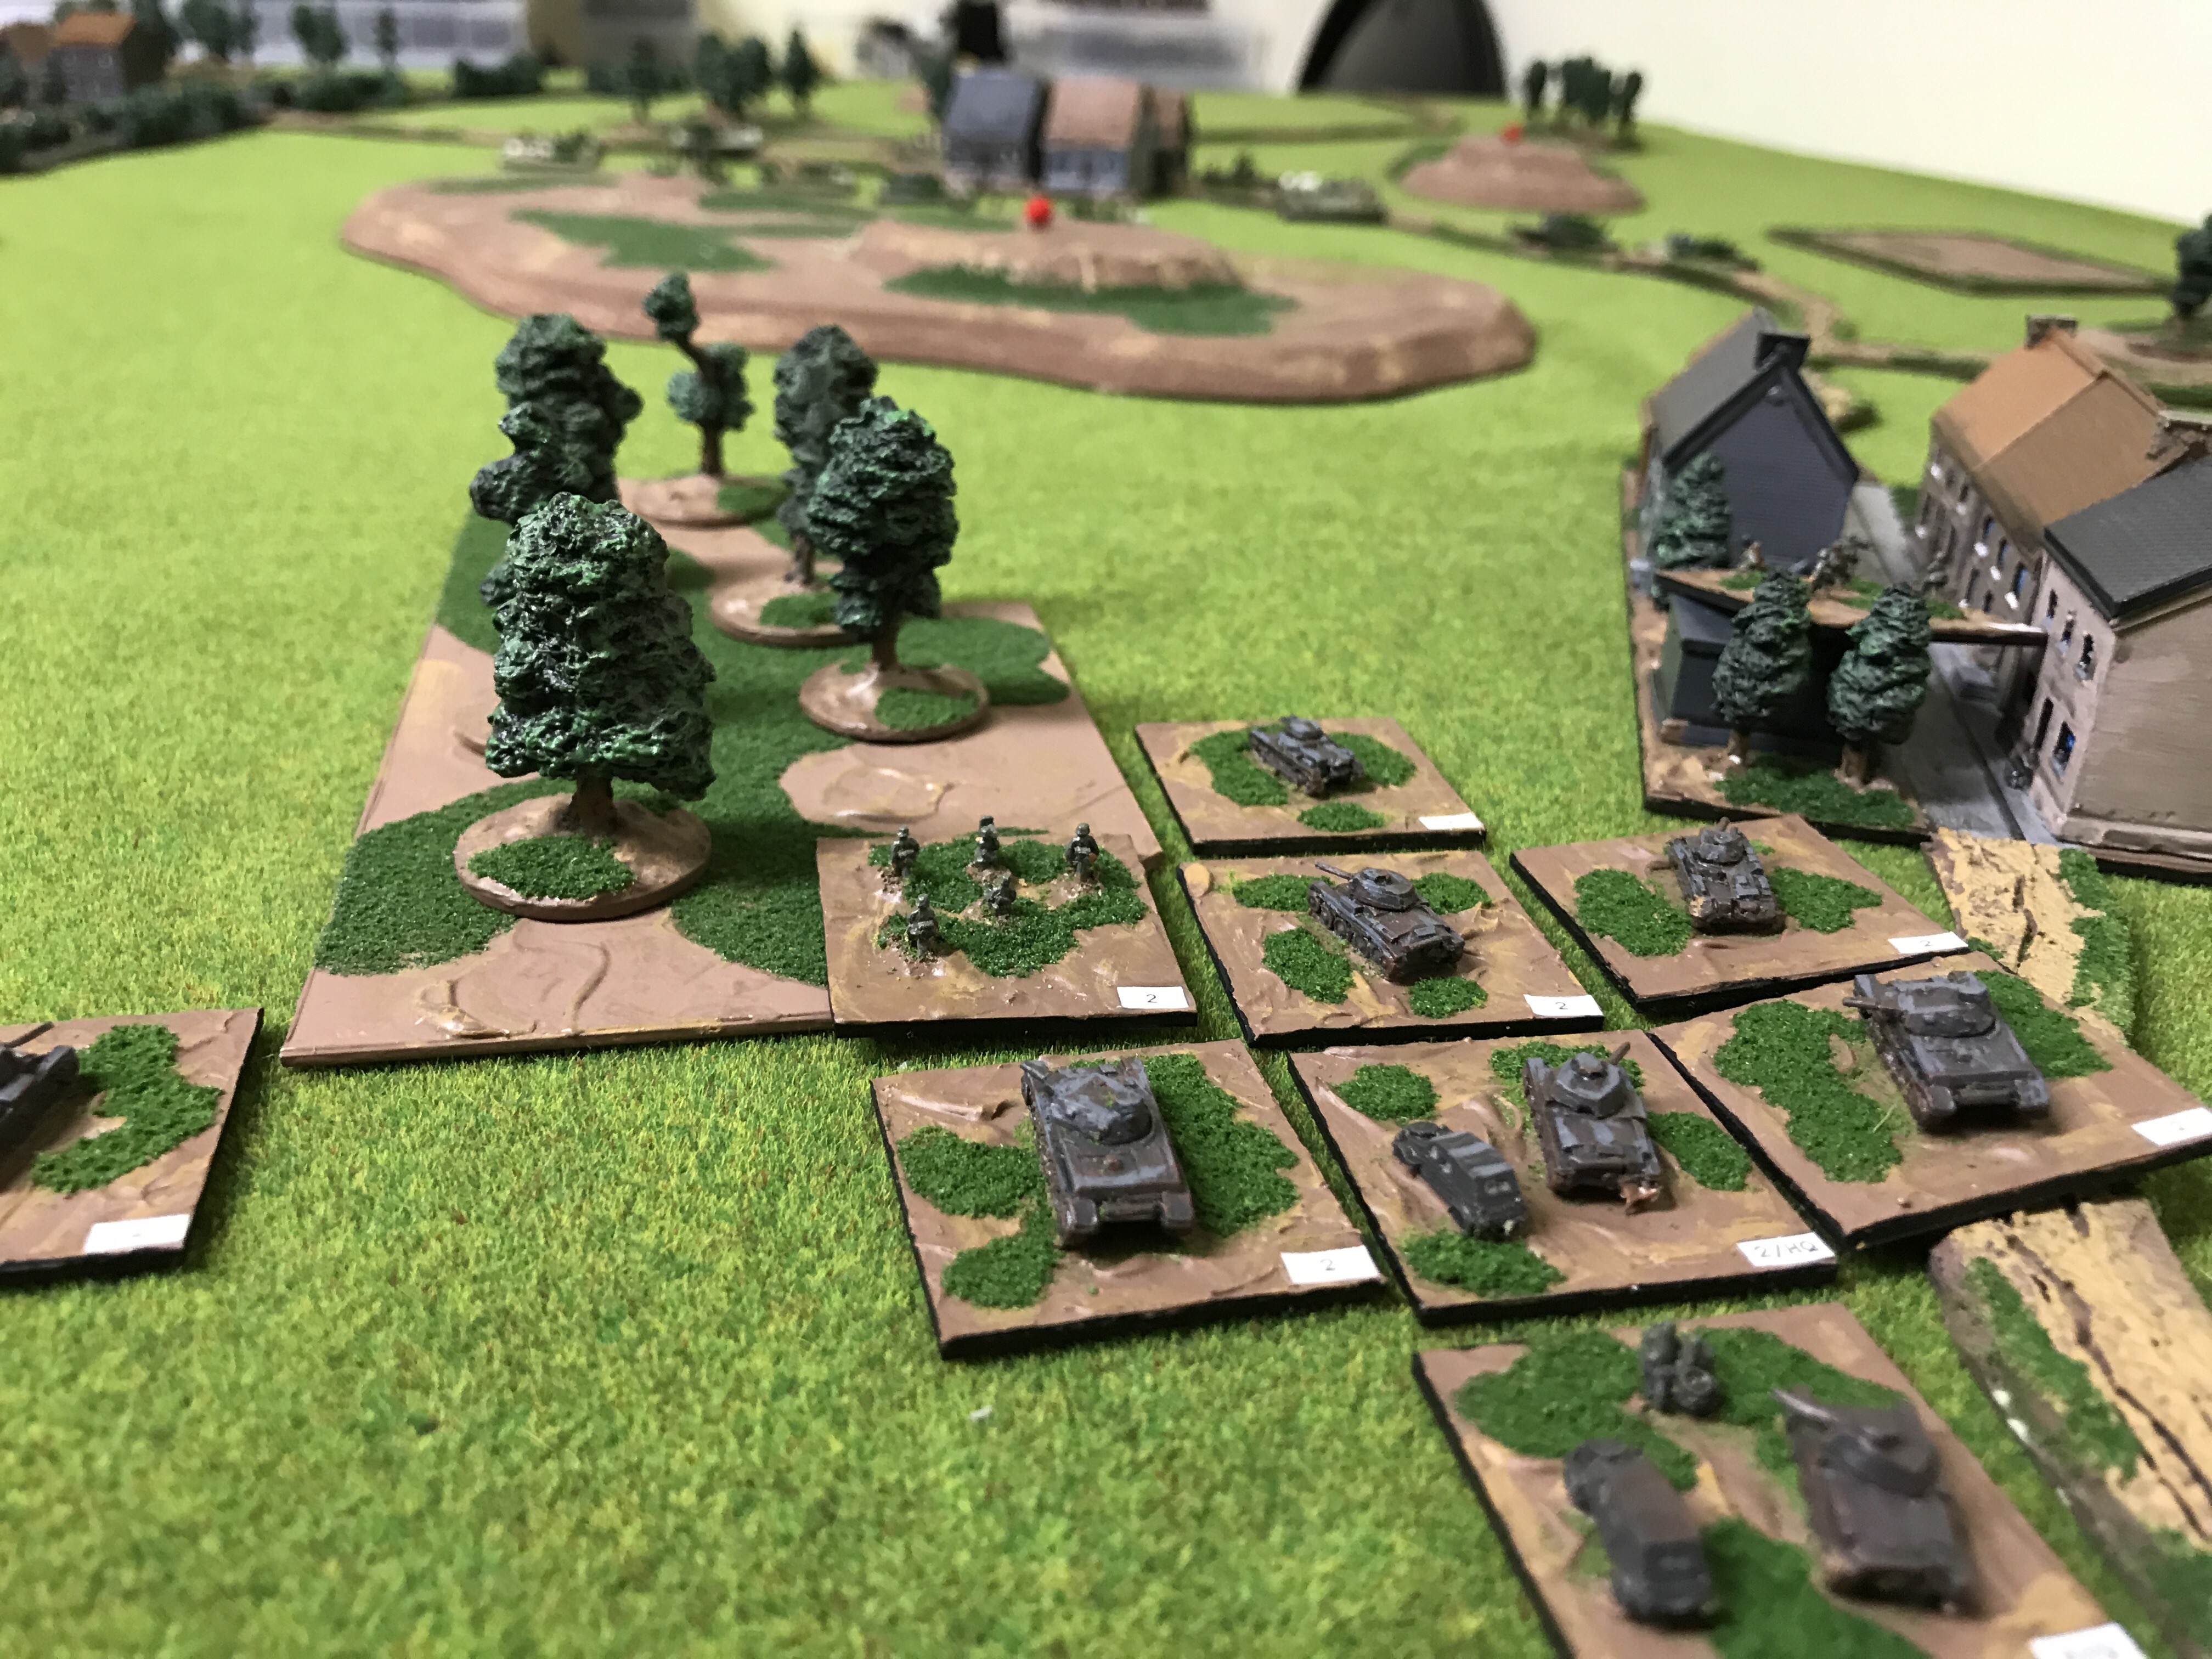
Valuable time was lost manoeuvring the 2nd Panzer battalion into position. Below, Panzers and infantry in halftracks prepare to engage the exposed British left. In the distance British armour can be seen moving forward.

This British armour was clearly a threat, and had to be countered removing valuable assets from the main effort. Below, the under strength armour of Sutton Force comprising an adhoc regiment of A-13s and Vickers Mk VI light tanks.
Meanwhile in the centre battle was also underway. British infantry pressed forward pinning the German 1/6th Motorised Infantry Battalion while advancing to attack the German left. Rather than react to the flanking attack German infantry engaged the British centre. Here, German infantry and heavy weapons, supported by concentrated artillery fires, decimated the British centre. Then, as planned exposed German elements fell back to their next defence line.
Below, the attack on the German centre viewed from the British right. In the left distance British forces are heavily engaged and suffer heavy casualties, while in the foreground the press forward the British infantry are not engaged.

The German main effort was however on the German right where the Panzers were massed. Attacks on the British infantry positions were generally well coordinated. Again supporting artillery provided critical assistance to the infantry and armoured components. The attacks included a number of overrun attacks, though those against the British infantry near the high ground were generally more successful than those against the infantry on the ridge.

Above and below, the German main attack gets underway. Panzer I and II tanks are visible close assaulting British infantry. While other Panzers secure the high ground.

However, well positioned British anti-tank guns limited the ability of German tanks to overrun a number of British positions which slowed the German advance.

As this battle was in full swing British armour was now moving forward. Interestingly, British armour seemed unwilling to engage at long range, but rather pushed forward to reduce the range. By doing so the generally deployed Panzers often had the advantage of stationary fire.

Soon the British Crusier tanks were burning brightly. Though their élan had been admirable they were no match for the Panzers. With the British armour a spent force the British infantry position on the ridge, having lost their armoured support and their own anti-tank guns, had no other option but to fall back.
The German Panzers were once again free to advance, though casualties on the Panzers of 1st Battalion had been heavy. Clearly British resolve was increasing as has been indicated in British reports, but they were still unable to halt the Wehrmacht.
The miniatures shown here are from the excellent Heroics & Ros range, with the British from Robin’s collection and the Germans from my own. The buildings are from Timecast while trees from Irregular Miniatures. The remaining terrain is homemade.
